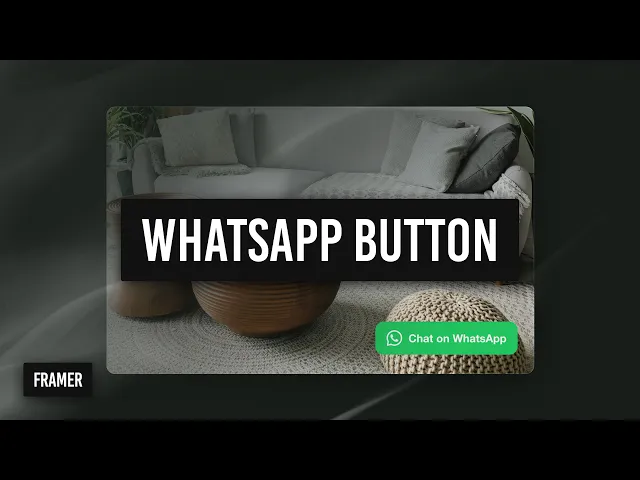
How to Add a WhatsApp Button to Your Framer Site
Robin Louw
|
Mar 19, 2024
Looking for a quick and effective way to add WhatsApp to your Framer site? A Click-to-Chat button is a smart solution to connect directly with your visitors. In just a few steps, you can make it easy for users to message you instantly — without needing to save your number.
Here’s a simple tutorial to walk you through the entire process. And if you prefer to see it in action, be sure to watch the embedded video above for a full walkthrough.
Step 1: Generate Your WhatsApp Link
Start by visiting the WhatsApp Help Center. Search for “Click to Chat” — this page explains how to create your own direct message link. The basic format looks like this:https://wa.me/<your number in international format>
For example, if your number is +1 234 567 8900, your link would be:https://wa.me/12345678900
You can also add a pre-filled message by appending ?text=Hello%20there.
Step 2: Download a WhatsApp Button
On the same page, you’ll find downloadable WhatsApp button assets. Choose the SVG format for the best quality and scalability. You’ll typically get small, medium, and large options.
Once downloaded, drag your preferred size — in this case, the large button — onto your Framer canvas.
Step 3: Add the Button to Your Page
If you’re working with a single-page site, you can drag the button directly onto your layout. If you have multiple pages, consider turning the button into a component for reuse.
Next:
Drag the button out of any auto layout stacks.
Place it inside a new frame.
Rename the frame for clarity (e.g., "WhatsApp Button").
Set the frame to absolute positioning, placing it in the bottom right of your screen.
Be sure to follow accessibility best practices
Step 4: Link the Button
Paste your custom WhatsApp link into the Link property of the frame or button. Make sure to double-check the number format — it must include your country code with no spaces or symbols.
Step 5: Adjust for Responsive Design
Now adjust the position and size of the button for various breakpoints (desktop, tablet, mobile) to ensure consistency across devices.
Preview your site at each size to confirm everything looks right.
Step 6: Add Interactions
To enhance user experience:
Hover effect: Select the frame, then apply a hover effect like scale or slight color change.
Appear animation: Add a fade-in effect with a slight delay to make the button feel more dynamic.
You can also experiment with drop shadows to give it a “floating” look, though this is optional.
Step 7: Final Preview and Publish
Before publishing:
Confirm your phone number is correct.
Test the link on both desktop and mobile.
Ensure the chat opens WhatsApp properly.
Once everything works as expected, hit publish — and you’re live!
Watch the full walkthrough video above for a visual guide through every step.
Remix the Framer template here
Affiliate disclosure:
As a Framer Partner, I may earn from qualifying plan purchases at no cost to you.
AI disclaimer:
This article contains original content. However, AI may have been used to generate content from transcripts or to correct the grammar, spelling, and formatting of existing content.